Air fryer ovens have become a staple in many kitchens, lauded for their ability to deliver crispy, delicious food with less oil. However, with consistent use, grease, crumbs, and food splatters can build up inside, on the racks, and especially on the heating element. This not only affects the taste of your food but can also pose a fire risk and reduce the efficiency of your appliance. Knowing how to clean an air fryer oven thoroughly and safely is crucial for its longevity and your culinary enjoyment.
How often should you clean it?
The frequency of cleaning your air fryer oven depends largely on how often you use it and what you cook.
- After Every Use (Quick Clean): For best results and to prevent stubborn build-up, a quick wipe-down of the basket/trays and the interior after every use is highly recommended, especially if you cooked greasy foods. Do this once the appliance has cooled down.
- Weekly (Moderate Use): If you use your air fryer oven a few times a week, a more thorough cleaning, including the interior walls and checking the heating element, should be done weekly.
- Bi-Weekly/Monthly (Light Use): For lighter use (once or twice a month), a deep clean can be done every two to four weeks.
- As Needed (Visible Spills/Smoke): If you notice visible food splatters, persistent odors, or if the air fryer starts smoking during operation (which often indicates grease buildup), clean it immediately, regardless of your schedule.
Regular cleaning not only keeps your food tasting better but also prevents stubborn, baked-on grease that is much harder to remove later.
Step-by-step cleaning guide
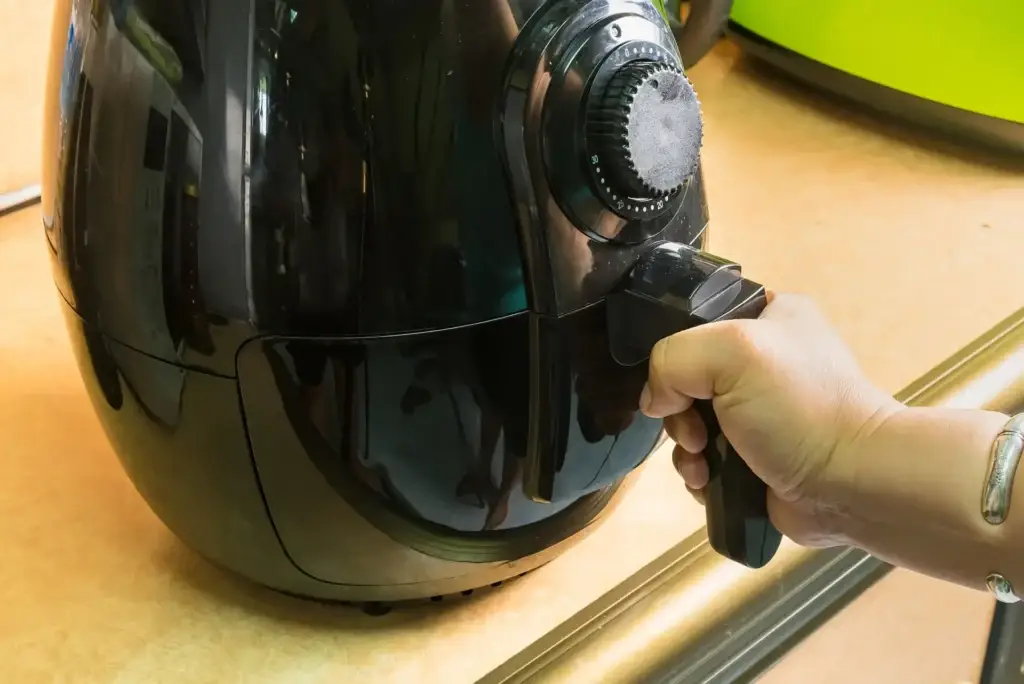
Always ensure your air fryer oven is unplugged and completely cool before beginning any cleaning process.
Cleaning the Basket and Trays
These are the parts that come into direct contact with food and accumulate the most grease and crumbs.
- Remove Detachable Parts: Take out all removable components: the basket, trays, racks, and any drip pans.
- Soak (Optional, for Baked-On Grease): For stubborn, baked-on grease, soak these parts in hot, soapy water for 15-30 minutes. A degreasing dish soap works best.
- Scrub Gently: Use a non-abrasive sponge or a soft-bristled brush (like a silicone brush or an old toothbrush for crevices). Avoid steel wool or harsh scrubbers that can damage non-stick coatings.
- For tougher spots, you can make a paste of baking soda and a little water, apply it, let it sit for a few minutes, then scrub.
- Rinse Thoroughly: Rinse all components under running water until all soap residue is gone.
- Dry Completely: Dry all parts thoroughly with a clean cloth or allow them to air dry before reassembling. Residual moisture can lead to odors or even rust.
Wiping the Interior
The interior walls and floor of the air fryer oven can accumulate splatters and crumbs.
- Crumble Removal: Tilt the appliance and gently shake out any loose crumbs onto a paper towel or into a trash can.
- Wipe Down: Dampen a soft cloth or sponge with warm, soapy water. Wring it out well so it’s only damp, not dripping.
- Clean Interior Surfaces: Carefully wipe down all interior surfaces, including the walls, floor, and door. Pay attention to corners and seams where grease might collect.
- For stubborn spots, a baking soda paste can be gently applied, left for a few minutes, then wiped away.
- Rinse (Wipe): Use a second clean cloth, dampened with plain water, to wipe away any soap residue.
- Dry: Use a dry cloth to thoroughly wipe down the interior, or leave the door ajar to air dry completely before plugging it back in.
Removing Grease from the Heating Element
The heating element, usually located at the top of the oven, is crucial to clean as grease buildup here can cause smoke and odors.
- Unplug and Cool: Ensure the air fryer oven is unplugged and completely cool. You may even want to wait several hours after use.
- Invert (If Possible): Some air fryer ovens can be carefully inverted to give better access to the heating element. Place it on a soft towel or mat to protect surfaces.
- Gentle Scrub/Wipe: Dampen a non-abrasive sponge or cloth with warm, soapy water (or a mild degreaser, if safe for your model). Wring it out very well so it’s barely damp.
- Careful Cleaning: Gently wipe or lightly scrub the heating element. For baked-on grease, a soft-bristled brush (like an old toothbrush) can be used. Be very careful not to bend or damage the heating coils.
- For very stubborn spots, a baking soda paste can be applied to the cooled element, left for 10-15 minutes, then gently scrubbed off.
- No Direct Water: Avoid spraying water or pouring liquid directly onto the heating element or into the electrical components.
- Wipe Clean and Dry: Wipe away any soap residue with a clean, barely damp cloth, then thoroughly dry the heating element with a dry cloth. Ensure it is completely dry before reassembling or plugging in the appliance.
What cleaners are safe to use
The best cleaners for an air fryer oven are generally simple and non-toxic.
- Dish Soap: A standard degreasing dish soap mixed with warm water is usually sufficient for most parts.
- Baking Soda Paste: Excellent for tackling stubborn, baked-on grease and food residue. Mix baking soda with a small amount of water to form a thick paste.
- White Vinegar: Can be used in a diluted solution with water (e.g., 1:1 ratio) to help cut grease and deodorize the interior. Mist onto a cloth, not directly onto surfaces.
- Specialized Air Fryer Cleaners: Some brands offer specific cleaning sprays or foams designed for air fryers. Always check compatibility with your appliance’s materials, especially non-stick coatings.
- Avoid:
- Abrasive Cleaners: Scouring powders, steel wool, or abrasive pads can scratch non-stick coatings and stainless steel, damaging the finish and making future cleaning harder.
- Harsh Chemical Cleaners: Oven cleaners, strong degreasers not specifically marked safe for appliances, or caustic chemicals can damage finishes, leave residue, or emit harmful fumes.
- Bleach: Avoid bleach for interior cleaning as it can be corrosive to some metals and should not mix with food surfaces.
Mistakes that can damage your appliance
Avoiding these common errors will ensure the longevity and safe operation of your air fryer oven.
- Not Unplugging the Appliance: This is a safety hazard and the most critical mistake. Always unplug before cleaning.
- Cleaning While Hot: Waiting for the appliance to cool down is crucial to prevent burns and allow residues to loosen.
- Using Abrasive Materials: Steel wool, scouring pads, or harsh brushes will scratch non-stick coatings, making food stick and potentially releasing harmful particles.
- Using Harsh Chemical Cleaners: Oven cleaners or strong degreasers can damage the interior finish, leave toxic residues, and may void your warranty.
- Submerging the Main Unit in Water: The electrical components of the air fryer oven are not waterproof. Submerging it will cause irreversible damage and create an electrical hazard.
- Getting Water on the Heating Element or Electrical Components: Avoid direct spraying or excessive moisture near the heating element or any vents leading to electrical parts. This can short-circuit the appliance.
- Not Drying Parts Completely: Reassembling or plugging in an appliance with residual moisture can lead to mildew, rust, or electrical issues.
- Ignoring the Heating Element: Allowing grease to build up on the heating element can cause smoking, foul odors, and even a fire risk.
- Procrastinating Cleaning: Baked-on grease and carbonized food are significantly harder to remove than fresh splatters. Regular, quick cleans prevent major cleaning headaches.
By following these guidelines, your air fryer oven will remain a clean, efficient, and reliable kitchen companion for many years to come, consistently delivering delicious, perfectly “fried” results.
Is your air fryer oven looking a little worse for wear, or accumulating stubborn grease that’s hard to tackle? Asubra Cleaning offers expert kitchen and appliance cleaning services, ensuring your air fryer oven and other essential appliances are spotless, hygienic, and ready for your next culinary adventure. Let us handle the tough grime so you can enjoy cooking again! Contact us today for a free estimate.