There’s nothing quite like the flavor of food cooked on a well-used grill. But along with those delicious char marks comes stubborn, cooked-on residue. Properly cleaning your grill grates is essential not just for hygiene and taste, but also for the longevity of your grill. The good news is that whether you have cast iron, stainless steel, or porcelain-coated grates, there’s a safe and effective method to get them sparkling clean. Learning how to clean grill grates correctly will ensure every meal is a masterpiece.
Why cleaning grill grates is crucial
Cleaning your grill grates regularly goes beyond just aesthetics; it’s fundamental for performance, safety, and flavor.
- Food Safety & Hygiene: Cooked-on food particles, grease, and char can harbor bacteria. A clean grate reduces the risk of food contamination.
- Preventing Flare-Ups: Excess grease and food debris are primary causes of dangerous flare-ups, which can burn your food and even damage your grill.
- Improved Flavor: Leftover burnt food bits can impart bitter, stale, or burnt flavors to your fresh food, masking the true taste of your grilling. A clean grate allows the natural flavors to shine.
- Even Cooking: Accumulated residue can create uneven heating spots on the grate, leading to inconsistent cooking and hot/cold spots.
- Extending Grate Lifespan: Grease and food acids can corrode and degrade grate materials over time. Regular cleaning and proper seasoning (for cast iron) protect your investment.
- Preventing Sticking: A clean grate, especially a properly seasoned one, helps prevent food from sticking, making for easier flipping and serving.
Tools you’ll need (brush, scraper, degreaser)
Having the right tools makes the cleaning process much more efficient and effective.
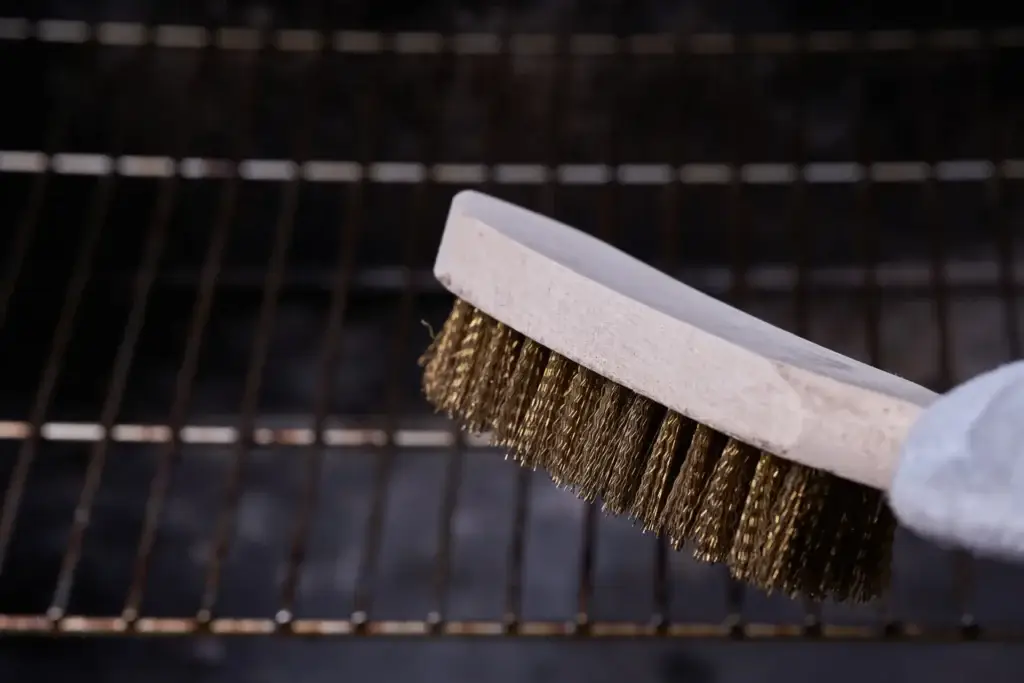
- Grill Brush:
- Bristle Type: Choose between wire bristles (stainless steel or brass for different grate types), bristle-free coils, or natural fiber brushes.
- Handle Length: An extra-long handle is crucial for safety when cleaning hot grates.
- Avoid: Cheap, flimsy wire brushes where bristles can break off and potentially end up in food. Consider bristle-free options for maximum safety.
- Grill Scraper/Spatula: For tougher, baked-on bits that a brush might miss. Look for one with a straight edge or notched edges that fit your grates.
- Heavy-Duty Degreaser: A commercial grill cleaner or a strong dish soap designed to cut grease.
- Buckets: For soapy water and rinse water.
- Sponges/Microfiber Cloths: Non-abrasive options for wiping down grates and interior.
- Gloves: Heavy-duty rubber gloves to protect your hands from grease and cleaning solutions.
- Paper Towels: For initial wiping and drying.
- Optional:
- Aluminum Foil: For a makeshift scrubber.
- Onion Half/Lemon Half: For natural cleaning and adding aroma.
- Shop Vac: To clean out cooled ash and debris from the grill bottom.
- Plastic Putty Knife: For gently scraping porcelain grates.
Cleaning methods by grate material
The type of material your grill grates are made from dictates the best cleaning approach to avoid damage and ensure longevity. Always check your grill manufacturer’s recommendations.
Cast Iron
Cast iron grates require special care to maintain their seasoning, which is a protective layer of polymerized oil that prevents rust and sticking.
- Heat Before Cleaning: Preheat the grill to high for 10-15 minutes immediately after cooking. This burns off residual food and loosens debris.
- Brush Hot: Use a stiff wire brush (brass or stainless steel) or a wooden grill scraper to scrape off char and food bits while the grates are still hot. For very stubborn bits, a wad of aluminum foil held with tongs can also work.
- Cool Down: Allow the grates to cool completely.
- Gentle Soap (Only if Necessary for Deep Clean): For a deep clean, gently wash with warm water and a very mild dish soap. Avoid harsh detergents or abrasive scrubbers that strip seasoning.
- Rinse & Dry IMMEDIATELY: Rinse thoroughly and immediately dry with a towel to prevent rust.
- Re-season: Once dry, apply a very thin, even layer of high smoke point cooking oil (like vegetable, canola, or grapeseed oil) to all surfaces of the grate using a paper towel.
- Heat to Set Seasoning: Place the grates back in the grill and heat on low for about 15-20 minutes until the oil starts to smoke. Turn off the grill and let them cool down completely inside. This step is crucial for maintaining the non-stick properties and preventing rust.
Stainless Steel
Stainless steel grates are durable and relatively easy to clean, but can scratch if abrasive tools are used.
- Heat Before/After Cooking: Preheat the grill to high for 10-15 minutes after cooking to burn off and loosen debris. Alternatively, clean right before cooking.
- Brush Hot: Use a stainless steel wire brush or a bristle-free brush to scrape off food residue while the grates are hot.
- Cool Down: Allow the grates to cool.
- Deep Clean (if needed): For a deeper clean, remove the grates and wash them in a sink with hot, soapy water and a heavy-duty degreaser.
- Scrub (Non-Abrasive): Use a non-abrasive sponge or microfiber cloth for general wiping. For baked-on grime, you can make a paste of baking soda and water, apply it, let it sit for a while, then scrub gently with a brush.
- Rinse & Dry: Rinse thoroughly and dry completely to prevent water spots and rust.
Porcelain-Coated
Porcelain-coated grates are easy to clean due to their non-stick surface, but they are prone to chipping if subjected to harsh abrasion or impacts.
- Heat Before/After Cooking: Preheat the grill to high for 10-15 minutes after cooking.
- Gentle Brush (Hot): Use a soft-bristled brush (like nylon or brass-bristled, never stainless steel wire or harsh scrapers) while the grates are hot. A wooden scraper can also work.
- Cool Down: Allow the grates to cool.
- Gentle Soap & Water: For a deep clean, remove the grates and wash them in warm, soapy water using a non-abrasive sponge or cloth. A plastic putty knife can be used gently for very stubborn spots.
- Rinse & Dry: Rinse thoroughly and dry completely.
- Avoid Chipping: Be extremely careful not to drop the grates or use metal utensils that could chip the porcelain, as this exposes the underlying metal to rust.
Deep cleaning vs. Quick wipe-down
- Quick Wipe-Down (After Every Use):
- Purpose: To prevent food and grease from baking onto the grates, making subsequent cleans easier.
- Method: While the grates are still hot (but safe to approach), use your grill brush to scrape off any immediate food residue. For cast iron, immediately apply a light coat of oil.
- Frequency: After every grilling session.
- Deep Cleaning (Less Frequent):
- Purpose: To remove accumulated grease, carbon build-up, and thoroughly clean all surfaces, including the undersides of grates and the interior of the grill box.
- Method: This involves removing the grates, soaking them if necessary, and scrubbing them with soap and water/degreaser as per their material type. It also includes cleaning flavorizer bars, heat deflectors, and the bottom of the grill box.
- Frequency: Depending on use, every 4-6 uses or at least monthly during grilling season, and a thorough clean before and after extended storage.
How to keep grates clean longer
Maintaining clean grates is an ongoing process that extends beyond just the cleaning session.
- Preheat Thoroughly: Always preheat your grill to high for 10-15 minutes before adding food. This helps to loosen any leftover bits from the previous cook, making them easier to brush off before you start grilling.
- Brush After Each Cook (While Hot): This is the most effective habit. Immediately after you finish cooking and remove the food, use your grill brush to scrape off residual food while the grates are still hot. The heat helps to carbonize and loosen everything.
- Oil the Grates (Before Cooking): Once your grates are preheated, lightly oil them just before placing food on them. This creates a non-stick surface, which makes cleanup easier. You can use a paper towel dipped in high smoke point oil (like canola or vegetable) and held with tongs, or a specialized grate oiler.
- Scrape Off Carbonized Bits Regularly: Don’t let layer after layer of char build up. The more frequently you scrape off loose bits, the less effort a deep clean will require.
- Keep Grill Covered: When not in use, keep your grill covered with a grill cover. This protects the grates from rain, dust, and debris that can accumulate and lead to rust or more stubborn grime.
- Proper Storage: If storing your grill for the off-season, give it a thorough deep clean. For cast iron, ensure they are heavily seasoned and stored in a dry place.
By adopting these habits and using the correct cleaning methods for your specific grill grates, you’ll ensure your grill performs at its best, delivers delicious flavors, and remains a cornerstone of your outdoor cooking for years to come.
Is your grill looking neglected, with grates caked in stubborn grease and char? Asubra Cleaning offers expert outdoor cleaning services, including thorough grill grate degreasing and cleaning, to restore your barbecue to its pristine condition. Let us handle the tough grime so you can focus on cooking delicious meals! Contact us today for a free estimate.