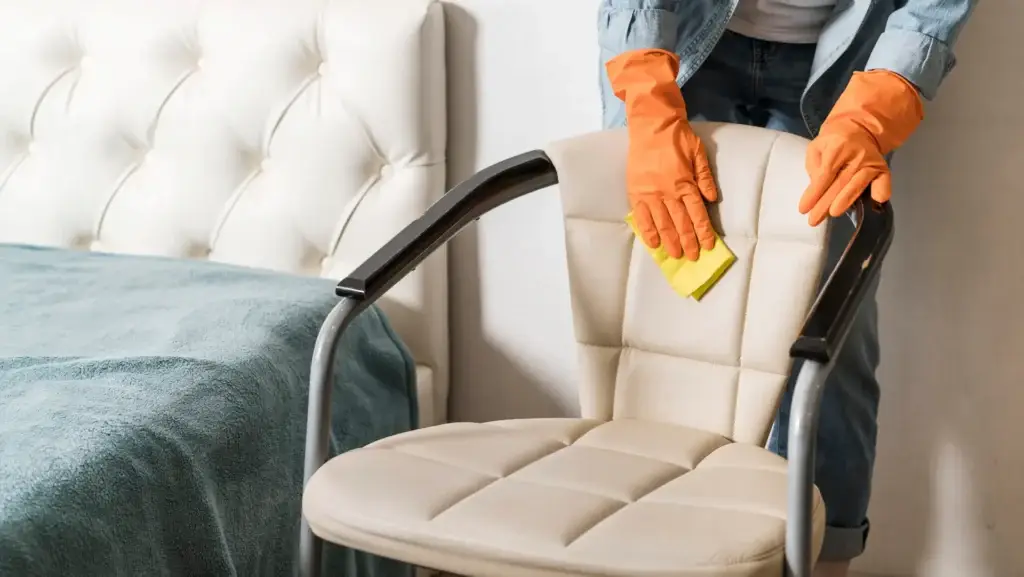
Ink stains on leather can feel like a disaster, instantly marring the beauty and luxury of your favorite sofa, jacket, or handbag. The smooth, porous nature of leather makes it particularly susceptible to absorbing ink, leading many to believe the stain is permanent. However, with the right approach and a delicate touch, it is often possible to remove ink stains from leather safely and effectively, restoring your cherished items to their pristine condition.
Can ink be removed from leather without damage?
Yes, ink can often be removed from leather without damage, but success largely depends on several critical factors:
- Type of Leather:
- Finished/Protected Leather: This is the most common type (often found on furniture, car seats, and many handbags), characterized by a protective topcoat. This coating makes it more resistant to stains and allows for more robust cleaning methods. Success rate is generally high.
- Unfinished/Aniline/Suede/Nubuck Leather: These leathers are highly absorbent and lack a protective topcoat. Ink will penetrate deeply and quickly, making removal very difficult, often impossible, without professional help or potential damage/discoloration. Proceed with extreme caution or avoid DIY methods altogether.
- Type of Ink:
- Ballpoint Pen Ink: This is often oil-based and tends to be easier to remove than other types if fresh.
- Permanent Marker Ink: Designed to be permanent, this is one of the hardest to remove and often requires professional intervention.
- Gel Pen Ink: Can be tricky, as it often has a thicker consistency.
- Felt-Tip/Rollerball Ink: Usually water or dye-based, these can sometimes spread if wet immediately, but can also be easier to lift if caught quickly.
- Age of the Stain: Fresh ink stains are significantly easier to remove than old, set-in stains. The longer the ink sits, the more it penetrates and dries, bonding with the leather fibers.
- Your Technique: Gentle, repetitive blotting is key. Rubbing can spread the ink and drive it deeper into the leather, making the stain worse.
- Patch Testing: Always, always, ALWAYS test any cleaning solution on an inconspicuous area of the leather first (e.g., the back or underside of a cushion) to ensure it doesn’t cause discoloration, drying, or damage.
What products work on leather (alcohol, vinegar, commercial cleaners)
Choosing the right cleaner is crucial, as leather is a delicate material.
- Rubbing Alcohol (Isopropyl Alcohol 70%+):
- Best for: Ballpoint pen ink. It’s often the most effective DIY solution.
- How it works: It acts as a solvent, dissolving the ink.
- Caution: Can be drying to leather. Always follow up with a leather conditioner. Can remove protective finishes or cause discoloration on sensitive leathers if not used sparingly and carefully.
- Non-Acetone Nail Polish Remover:
- Best for: Can sometimes work on stubborn ballpoint ink.
- Caution: Only non-acetone remover should ever be considered, and even then, use with extreme caution and only on finished leather. Acetone will severely damage leather. Highly drying.
- White Vinegar:
- Best for: Very mild ink stains or as a general cleaner/deodorizer. Not typically the primary choice for ink removal itself, but can be part of a multi-step process or for initial blotting.
- Caution: Mildly acidic. Use diluted or ensure thorough rinsing and conditioning.
- Hair Spray:
- Best for: Can sometimes work on fresh ballpoint pen ink, as many contain alcohol.
- Caution: Can leave a sticky residue or damage some finishes. Test first.
- Commercial Leather Ink Remover Kits:
- Best for: Designed specifically for leather, these kits often contain specialized solvents and follow-up conditioners.
- Pros: Formulated to be safer for leather than general solvents. Often come with clear instructions.
- Cons: Can be more expensive. Effectiveness varies by brand.
- Leather Cleaner & Conditioner:
- Best for: Not for ink removal itself, but crucial for cleaning the residue after ink removal and rehydrating the leather to prevent drying and cracking.
Step-by-step for small or fresh ink stains
For fresh or small ballpoint pen ink stains on finished leather, act quickly and follow these steps.
- Gather Supplies: Rubbing alcohol (70%+), several clean white cloths or cotton swabs, a leather cleaner, and a leather conditioner.
- Patch Test: Dampen a cotton swab with rubbing alcohol and apply it to an inconspicuous area of the leather. Blot gently. Check for any discoloration, dulling, or adverse reactions. If safe, proceed.
- Blot the Stain:
- Dampen a clean white cloth or cotton swab with a small amount of rubbing alcohol. Do NOT saturate.
- Gently blot the ink stain, starting from the outside edges and working inward. This prevents spreading.
- As ink transfers to the cloth/swab, rotate to a clean section or use a fresh one. This is crucial to avoid re-depositing ink.
- Repeat the blotting process, applying more alcohol to a fresh part of the cloth as needed, until no more ink transfers. Be patient.
- Wipe Down: Once the ink is gone (or no more transfers), dampen a clean cloth with plain water and gently wipe the treated area to remove any alcohol residue.
- Clean the Area: Apply a dedicated leather cleaner to the entire panel or section you worked on, following the product’s instructions. This helps to clean any lingering residue and prepare the leather for conditioning.
- Condition the Leather: Apply a high-quality leather conditioner to the treated area. Alcohol can be very drying, so conditioning is vital to restore moisture and prevent cracking or dullness.
- Allow to Dry: Let the leather air dry completely.
Dealing with older or set-in stains
Older or more stubborn ink stains, especially from permanent markers or gel pens, are significantly harder and may require more aggressive (but still cautious) methods or professional help.
- Repeat Alcohol Method: Try repeating the rubbing alcohol method multiple times, allowing the area to dry fully between attempts. Be patient.
- Baking Soda Paste (for some leathers/inks): For some ink types (like felt-tip), a paste of baking soda and a few drops of water can be applied. Let it sit for a few minutes, then gently wipe away with a damp cloth, followed by conditioning. Test first, as this can be too abrasive for some leathers.
- Commercial Leather Ink Remover: If DIY alcohol methods aren’t working, consider purchasing a specialized leather ink remover kit. These are formulated to be safer for leather than general solvents and come with specific instructions. Follow them meticulously.
- Non-Acetone Nail Polish Remover (Extreme Caution): If all else fails and only on finished leather as a last resort before calling a professional:
- Apply a tiny amount to a cotton swab.
- Blot VERY, VERY gently and quickly on the stain. Do not rub.
- Immediately follow with a damp cloth, then leather cleaner and conditioner. This method carries a high risk of damage.
- Patience and Persistence: Older stains often require multiple, gentle attempts over time rather than one aggressive attack.
When to call a leather care professional
Sometimes, despite your best efforts, a leather ink stain is simply too challenging or risky to tackle yourself. Knowing when to call in the experts can save your valuable leather item from irreversible damage.
- Aniline, Suede, or Nubuck Leather: If your leather is unfinished, aniline, suede, or nubuck, it is extremely absorbent and easily damaged by DIY cleaning. Do not attempt DIY ink removal on these types of leather. Call a professional immediately.
- Large or Extensive Stains: A large ink stain (e.g., an entire pen exploded) might be too much for a DIY approach, especially if it’s spread out.
- Permanent Marker Ink: These inks are notoriously difficult to remove from any surface, and leather is no exception. Professionals often have specialized solvents and techniques.
- Old, Set-In Stains: If the ink stain is weeks or months old, it has likely bonded deeply with the leather fibers, making DIY removal very challenging without causing damage.
- Concern About Damage: If you’ve tried a small patch test and noticed discoloration, dulling, or any adverse reaction, stop immediately and contact a professional.
- High-Value Items: For expensive leather furniture, designer handbags, or prized leather apparel, the risk of irreversible damage from DIY attempts often outweighs the cost of professional cleaning.
- Uncertain Leather Type: If you’re unsure what type of leather you have, it’s safer to err on the side of caution and consult a professional.
Leather care professionals have specialized tools, chemicals, and expertise to assess the leather type, ink type, and apply the safest, most effective method of removal, often with much better results than DIY attempts for difficult stains.
Is an unsightly ink stain marring your beautiful leather furniture or accessories? Asubra Cleaning offers expert leather cleaning and care services, specializing in safe and effective stain removal to restore the beauty and longevity of your leather items. Don’t risk damaging your valuable pieces – let our professionals handle it! Contact us today for a free estimate.