Water stains on wood furniture are a common, yet frustrating, occurrence. Those unsightly white rings or dark marks can instantly mar the beauty of a cherished table or dresser, often making them look permanently damaged. While sanding and refinishing might seem like the only solution, the good news is that many water stains—especially the white ones—can often be removed with simple, household remedies and a bit of patience, all without resorting to invasive methods. Learning how to remove water stains from wood furniture using gentle techniques can save your pieces and restore their original luster.
What causes white rings and water marks?
Understanding the nature of the stain is the first step to successful removal.
- White Rings (Moisture Trapped in Finish): These are the most common and easiest to remove. White rings, often caused by hot mugs, wet glasses, or minor spills left to dry, occur when moisture gets trapped within the clear protective finish (like lacquer, polyurethane, or varnish) of the wood furniture. The moisture essentially creates a cloudy, hazy appearance under the finish, but it hasn’t actually damaged the wood itself.
- Dark Water Marks (Moisture Penetrated Wood): These are more serious and harder to remove. Dark water marks indicate that the moisture has penetrated through the protective finish and into the actual wood fibers below. This can cause the wood to swell, discolor, or even promote mold growth if left untreated for a long time. These stains are often caused by prolonged exposure to water, like a leaky vase or a potted plant.
It’s crucial to distinguish between these two types, as the methods for removal vary. Most DIY methods focus on drawing out or dissipating the moisture trapped in the finish (white rings).
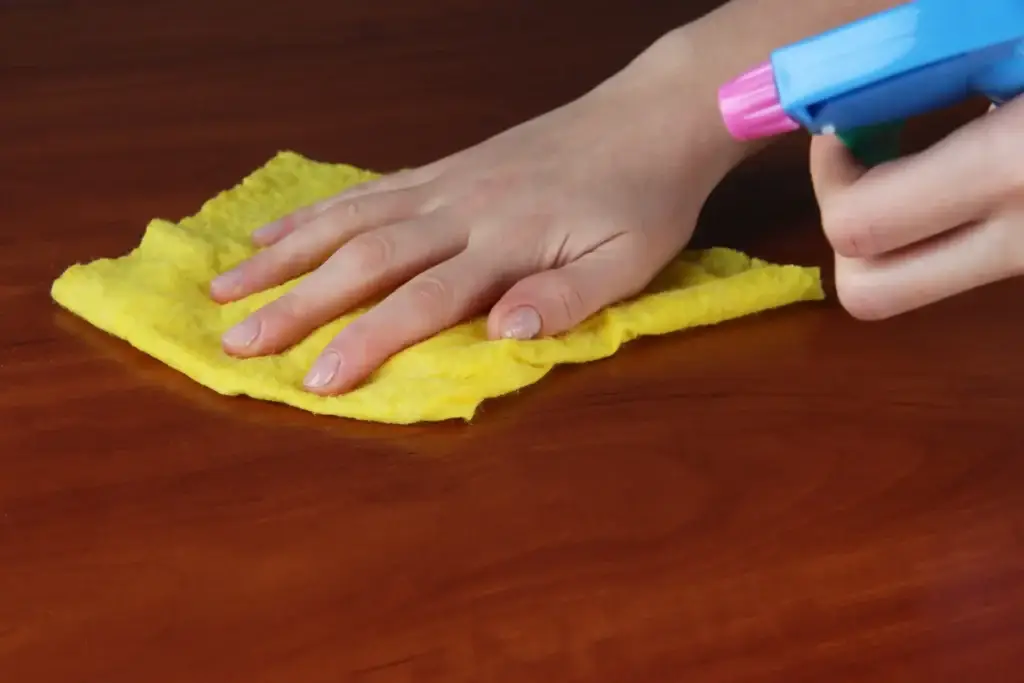
Gentle methods for light stains (iron, toothpaste, vinegar)
These methods are primarily for white rings or light, fresh water marks on the finish. Always test in an inconspicuous area first!
- The Iron Method (for White Rings):
- How it Works: The gentle heat from the iron helps to draw out the trapped moisture from the finish.
- Supplies: A clean cotton cloth (like an old t-shirt or pillowcase, no steam setting), a dry iron, and a clean, soft cloth for buffing.
- Steps:
- Empty any water from your iron and ensure it’s completely dry. Set it to a low-to-medium heat setting (no steam).
- Place the dry cotton cloth over the white water stain.
- Lightly press the iron onto the cloth over the stain for a few seconds (5-10 seconds maximum). Do not leave it stationary to avoid burning the finish.
- Lift the iron and the cloth to check progress. If the stain is still there, move the iron to a different spot on the cloth and repeat.
- Repeat this process, checking frequently, until the stain disappears. Be patient and use short bursts of heat.
- Once the stain is gone, buff the area gently with a clean, soft cloth.
- Toothpaste Method (for White Rings):
- How it Works: The mild abrasives in white, non-gel toothpaste help to gently “polish” away the cloudiness in the finish.
- Supplies: White (not gel) toothpaste, a soft cloth, and a clean, damp cloth.
- Steps:
- Apply a small dab of white toothpaste directly onto the water stain.
- Using a soft cloth, gently rub the toothpaste into the stain in the direction of the wood grain.
- Rub for a few minutes, checking periodically.
- Wipe off the toothpaste with a clean, damp cloth.
- If the stain persists, you can repeat the process carefully.
- Mayonnaise/Petroleum Jelly Method (for White Rings and light dark spots):
- How it Works: The oil in these products is thought to penetrate the finish and displace the trapped moisture or rehydrate the finish.
- Supplies: Mayonnaise or petroleum jelly, a clean cloth.
- Steps:
- Apply a generous dollop of mayonnaise or petroleum jelly directly over the stain.
- Let it sit for several hours, or even overnight (8-12 hours).
- Wipe away the product with a clean cloth. The stain should be significantly faded or gone.
- Buff the area to restore shine.
- Hair Dryer Method (for White Rings):
- How it Works: Similar to the iron, controlled heat helps evaporate trapped moisture.
- Supplies: Hair dryer, clean, soft cloth.
- Steps:
- Set the hair dryer to a low-to-medium heat setting.
- Hold the dryer a few inches from the stain and move it constantly in a circular motion.
- Watch the stain closely; it should begin to disappear.
- Once the stain is gone, buff the area.
Deep cleaning for older or dark stains
Dark stains indicate that the moisture has penetrated the wood itself. These are significantly harder to remove and may require more aggressive methods or professional help. The goal here is often to bleach or lighten the discolored wood.
- Oxalic Acid (for Dark Stains):
- How it Works: Oxalic acid is a wood bleaching agent that can remove iron stains (which often cause dark water marks). It needs to be handled with care.
- Supplies: Oxalic acid crystals (available at hardware stores), warm water, non-metallic bowl, stiff nylon brush, gloves, safety goggles, clean cloths, and a neutralizer (baking soda and water solution).
- Steps (Use with Extreme Caution and Good Ventilation):
- Preparation: Wear gloves and safety goggles. Work in a well-ventilated area. Protect surrounding areas of the furniture and floor.
- Mix Solution: Dissolve oxalic acid crystals in warm water according to package directions.
- Apply: Apply the solution directly to the dark stain using a nylon brush. Avoid getting it on unaffected areas.
- Let Sit: Allow the solution to sit for a few minutes (check product instructions, usually 5-15 minutes). You should see the stain beginning to lighten.
- Neutralize: After the stain is gone or lightened as much as possible, immediately neutralize the acid by wiping the area with a solution of baking soda and water (1 tbsp baking soda to 1 cup water).
- Rinse & Dry: Wipe with a clean, damp cloth, then thoroughly dry the area.
- Refinishing: Oxalic acid can strip the finish and lighten the wood. The area may need to be stained and refinished to match the surrounding wood once dry.
- Sanding and Refinishing (Last Resort for Deep Dark Stains):
- How it Works: This involves removing the existing finish, sanding down the discolored wood, and then staining and refinishing.
- Supplies: Sandpaper (various grits), wood stripper, stain, wood finish (polyurethane, lacquer, etc.), brushes, safety gear.
- Steps: This is an advanced DIY project. If the stain is very deep, it may require sanding through a significant layer of wood, which can alter the furniture’s profile. This should be considered a last resort if other methods fail, or best left to a professional.
When to use commercial products or refinish wood
- Commercial Water Stain Removers: Many commercial products are available specifically for water stains on wood.
- Pros: Often formulated to be effective and come with clear instructions. Some are designed to work on both white and light dark stains.
- Cons: Can be expensive. Always check if they are suitable for your specific wood finish and test in an inconspicuous area first. Some may contain chemicals you prefer to avoid.
- When to Refinish Wood:
- When the stain is very deep and dark, indicating the wood itself is damaged.
- When the surface finish is significantly damaged or etched from the water or aggressive cleaning attempts.
- When you’ve tried all gentle and acid methods, and the stain persists.
- When you want to change the color or overall look of the furniture piece.
- Consider a Professional: For valuable antiques, intricate pieces, or if you’re uncomfortable with sanding and refinishing, it’s always best to consult a professional furniture restorer.
Preventing future water damage
Prevention is the easiest and most effective way to protect your wood furniture.
- Use Coasters Religiously: This is the most crucial step. Always place coasters under drinks, particularly hot mugs or glasses that collect condensation.
- Use Trivets or Hot Pads: Place trivets or hot pads under hot dishes, serving bowls, or anything coming directly from the oven or stovetop.
- Wipe Spills Immediately: Don’t let spills sit on the wood surface, even for a few minutes. Blot them up promptly with a clean, dry cloth.
- Avoid Overwatering Plants: If you have potted plants on wood furniture, use a waterproof saucer and check regularly for leaks or condensation. Consider elevating the pot slightly for airflow.
- Be Mindful of Humidifiers: If using a humidifier, ensure it’s not directly near wood furniture or that it’s positioned to disperse mist away from surfaces.
- Proper Furniture Placement: Avoid placing wood furniture directly under leaky windows, near unsealed doors, or in areas prone to splashes.
- Maintain the Finish: Regularly clean and polish your wood furniture according to its finish type. A well-maintained finish provides a better protective barrier against moisture.
By combining careful cleaning techniques with diligent preventative measures, you can keep your wood furniture looking beautiful and free from frustrating water stains for years to come.
Are unsightly water stains marring your cherished wood furniture? Asubra Cleaning offers expert furniture care services, including specialized techniques for safe and effective water stain removal and wood polishing. Don’t risk damaging your valuable pieces – let our professionals restore their beauty! Contact us today for a free estimate.