A deck is a fantastic outdoor living space, but constant exposure to sun, rain, and foot traffic can leave it looking dull, dirty, and even slick with mildew. Before you spend money on a commercial cleaner, consider making your own effective, safe, and affordable solution using common household ingredients. This guide will provide you with easy-to-follow recipes and a step-by-step process for cleaning your deck naturally.
Why decks need regular cleaning
Regular cleaning is crucial for several reasons beyond just appearance.
- Preventing Mold and Mildew: Damp, shaded areas of a deck are perfect breeding grounds for mold and mildew, which not only look unsightly but can also make the surface slippery and unsafe.
- Extending Deck Life: Grime and moisture can lead to wood rot, splintering, and warping. Cleaning helps to remove these contaminants, protecting the wood and extending the life of your deck’s stain or sealant.
- Aesthetic Appeal: A clean deck is simply more inviting and enjoyable. It makes your outdoor space look well-maintained and ready for use.
Safe DIY deck cleaning solutions (vinegar, baking soda, soap)
Here are three simple and effective recipes for a DIY deck cleaner.
- Vinegar Solution (for light dirt and mildew):
- Mix 1 gallon of warm water with 1 cup of white vinegar.
- This is a great, all-purpose solution for light cleaning and has natural antifungal properties that help with mildew.
- Oxygen Bleach Solution (for stubborn mildew and stains):
- Mix 2 gallons of warm water with 2 cups of oxygen bleach powder (e.g., OxiClean).
- Oxygen bleach is a safe, color-safe, and non-toxic alternative to chlorine bleach. It’s highly effective at lifting tough stains and killing mildew without harming plants or wood.
- Dish Soap Solution (for general grime):
- Mix 1 gallon of warm water with a few squirts of mild dish soap.
- This is perfect for general cleaning to remove dirt, grime, and grease.
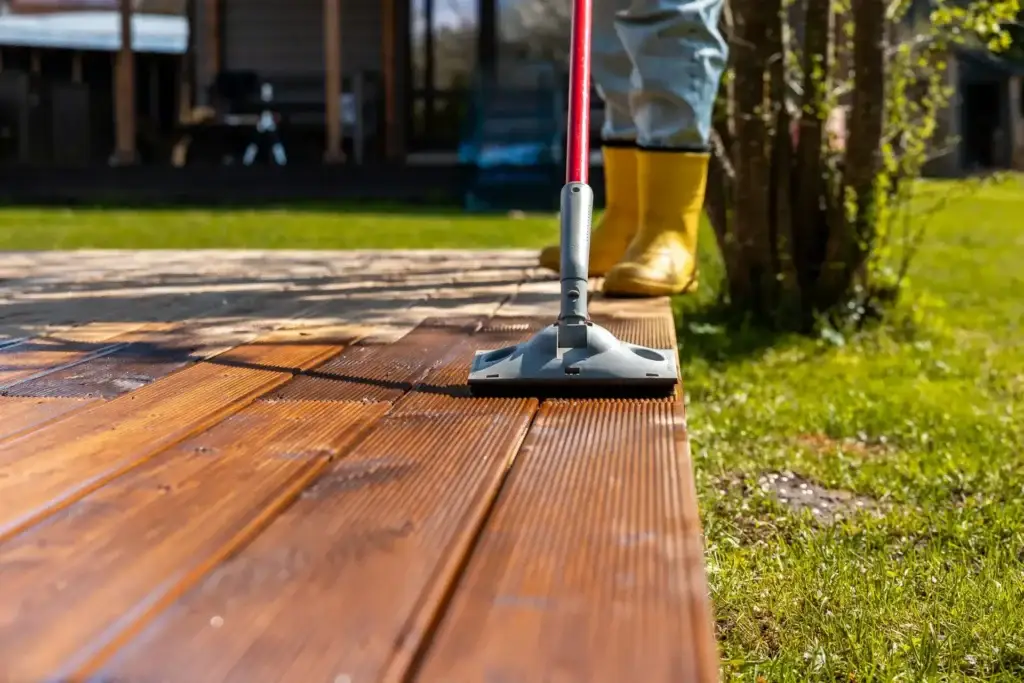
Step-by-step DIY deck cleaning process
Follow these steps for a successful and safe deck cleaning.
- Clear the Deck: Remove all furniture, plants, grills, and other items from the deck. Sweep away all loose debris, leaves, and dirt with a broom.
- Protect Nearby Plants: Before you begin, lightly mist any surrounding plants and shrubs with water to dilute any potential overspray from your cleaning solution.
- Apply the Cleaner:
- For Spray Bottle: Put your chosen solution in a spray bottle and mist the deck evenly.
- For Bucket: Pour the solution directly onto the deck, working in small sections.
- Scrub the Deck: Using a stiff-bristled brush or a push broom, scrub the deck boards. Work with the grain of the wood. Pay special attention to areas with visible grime or stains.
- Rinse Thoroughly: Use a garden hose with a spray nozzle to rinse the entire deck. Make sure to remove all the cleaning solution, as residue can cause damage or leave a film. Rinse from the highest point down.
- Let it Dry: Allow the deck to dry completely, which may take 24-48 hours, before moving furniture back or applying a new stain or sealant.
Removing mold, mildew, and tough stains naturally
For more persistent problems, here are some natural solutions.
- For Mold and Mildew: The oxygen bleach solution is the most effective DIY method. The oxygen bubbles lift the organic material from the surface.
- For Grease Stains: Sprinkle baking soda on the stain to absorb the grease. Let it sit for about 15 minutes, then scrub with a brush and rinse.
- For Rust Stains: Mix lemon juice and salt into a paste. Apply the paste to the rust stain, let it sit for a few hours, then scrub with a brush and rinse.
When to consider professional deck cleaning
While a DIY clean is great for maintenance, there are times when you should call a professional.
- Severe Damage: If your deck has significant rot, warping, or splintering, a professional can assess the damage and make necessary repairs before cleaning.
- Heavy Buildup: If your deck is covered in a very thick, stubborn layer of grime, a professional’s power washing equipment may be the only solution to get it clean without damaging the wood.
- Applying a New Finish: A professional can properly strip old finishes, deep clean, and prep the wood for a new stain or sealant, ensuring a beautiful and long-lasting result.