
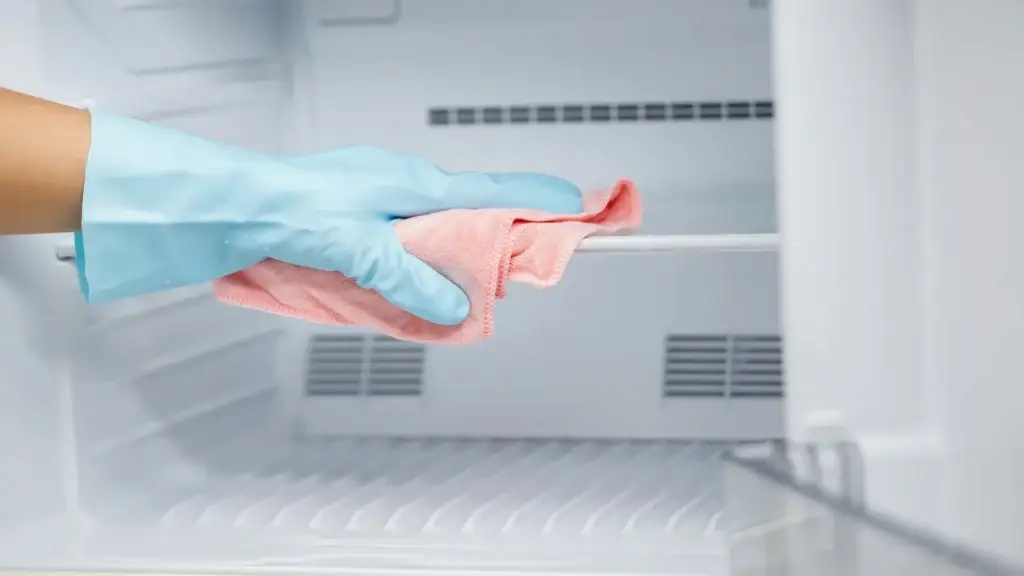
The refrigerator holds almost everything your family eats, yet it’s one of the least cleaned spots in most kitchens. Knowing how to clean a refrigerator properly isn’t just about appearances. It directly affects how safe your food stays from one grocery trip to the next.
Spills, expired condiments, and forgotten leftovers create the perfect environment for bacteria to spread to fresh food. A few minutes of regular attention prevents most of that risk.
To clean a refrigerator, remove all food first, then take out shelves and drawers and wash them with warm, soapy water. Wipe down the interior walls, door seals, and bins with a mild cleaner or a vinegar and water solution, dry everything, and return food only after checking expiration dates. Aim to do a full clean every one to two months, with quick spill wipe-downs as needed.
Why a clean refrigerator matters for food safety
Refrigeration slows bacterial growth, but it doesn’t stop it completely, and a dirty fridge interior can speed things back up. Therefore, understanding how to clean a refrigerator correctly is as much a food safety habit as it is a tidiness one. The USDA Food Safety and Inspection Service notes that keeping the refrigerator clean is an important step in keeping food safe, recommending that spills be wiped up immediately with hot, soapy water and that perishable foods be checked weekly for anything that should be tossed.
Professional cleaners who handle move-out and deep cleaning jobs regularly find sticky residue, mystery liquids, and mold spots tucked behind crisper drawers, even in refrigerators that look fine at a glance. That residue can harbor bacteria like Listeria, which thrives in cold, moist environments and can contaminate fresh produce or dairy on contact.
A clean fridge also runs more efficiently. For example, dust and debris on the condenser coils, often overlooked during a quick wipe-down, can make the appliance work harder and shorten its lifespan over time. Consequently, a fridge that never gets a proper interior clean tends to need repairs sooner than one that’s maintained on a regular schedule.
How to clean a refrigerator step by step
Here’s the process professionals follow to get a refrigerator genuinely clean, not just tidy looking.
- Empty the entire fridge. Pull everything out, check expiration dates, and toss anything questionable. Never taste food to test if it’s still safe.
- Remove shelves and drawers. Most slide out easily. Let glass shelves reach room temperature before washing in warm water to avoid cracking from a sudden temperature change.
- Wash removable parts in the sink. Use warm, soapy water or a mix of equal parts vinegar and water for a natural option that also helps cut odors.
- Wipe down the interior. Clean the walls, ceiling, and door of the fridge, paying close attention to door seals and gaskets where crumbs and grime collect.
- Clean the drawers and bins separately. Crisper drawers often hold the most residue from leaking produce bags.
- Dry everything before replacing. Moisture left behind can encourage mold, especially in the lower bins.
- Return food strategically. Put raw meat on the bottom shelf to prevent drips onto other food, and place older items toward the front so they get used first.
Following these steps in order is generally the most reliable way to clean a refrigerator without missing the spots that cause odors or contamination later.
Organizing as you clean
Since everything is already out of the fridge during a full clean, it’s the perfect moment to rethink how items are arranged. For example, dairy and eggs do best on a middle shelf rather than the door, where temperatures fluctuate more. Similarly, raw meat belongs on the bottom shelf in a sealed container, both to keep it colder and to prevent drips from reaching other food below.
Afterward, labeling leftovers with the date they were made also helps next time you clean, since it removes the guesswork around what’s still safe to eat.
What you need before you start
Gathering supplies first makes the process faster and keeps you from leaving the fridge open longer than necessary, which can also stress the appliance’s cooling cycle:
- Warm water and mild dish soap
- White vinegar for a natural odor-cutting option
- A soft sponge or microfiber cloth
- A small brush for tight corners and gasket grooves
- An open box of baking soda for ongoing odor control
Don’t forget the freezer
Most refrigerator cleaning guides focus only on the fridge compartment, but the freezer needs occasional attention too. Frost buildup, freezer burn residue, and spilled liquids from thawing packages can accumulate over months without anyone noticing.
To clean a freezer safely, wait for a moment when stock is low, transfer remaining items to a cooler, and wipe down the interior with warm water once any frost has softened. Avoid using sharp tools to scrape ice, since this can damage the interior lining.
How often should you clean your refrigerator
A full interior clean every one to two months keeps most households ahead of buildup. Meanwhile, quick spot-cleaning, like wiping a spill the moment it happens, should happen the same day it occurs rather than waiting for the next deep clean.
Meanwhile, the exterior, door handles, and the top of the fridge benefit from a wipe-down weekly, since these are high-touch and dust-collecting surfaces that are easy to forget. Additionally, the condenser coils on the back or underside of the unit only need attention a few times a year, but skipping that step entirely can quietly raise your energy bill.
A weekly and monthly cleaning checklist
Because fridge cleaning is easy to push off, it helps to separate quick weekly habits from the deeper monthly reset:
Weekly:
- Wipe up spills immediately.
- Check for expired or spoiled items.
- Wipe down the exterior and door handles.
Monthly:
- Remove and wash all shelves and drawers.
- Wipe the full interior, including seals and gaskets.
- Refresh the baking soda box.
- Vacuum or brush off the condenser coils if accessible.
Common refrigerator cleaning mistakes
- Using harsh chemical cleaners near food storage areas. Strong solvents and abrasives can leave a chemical taste or odor that transfers to food.
- Ignoring the door seals. Grime in the gaskets reduces the seal’s effectiveness, which can raise the internal temperature.
- Forgetting to check expiration dates during cleaning. This is the easiest moment to clear out anything that’s overdue.- Skipping the condenser coils. Dust buildup here affects cooling efficiency, not just hygiene.
- Putting items back wet. Excess moisture promotes mold growth inside a sealed environment.
Overall, however, the most common mistake by far is simply waiting too long between cleanings. Once odor or visible residue sets in, it takes considerably more scrubbing to fully clean a refrigerator than it would have with a routine monthly pass. As a result, what could have been a quick 15-minute wipe-down turns into a much longer project involving soaking, scrubbing, and sometimes replacing parts that have absorbed odor permanently.
Signs your refrigerator needs a deeper clean
- A lingering odor that doesn’t go away after a normal wipe-down
- Visible mold spots, especially around rubber seals or in drawer corners
- Sticky residue on shelves or in the bottom of bins
- Frost buildup that seems unusually heavy
- Food spoiling faster than expected, which can signal an inconsistent temperature
Pairing fridge cleaning with a full home deep clean
The inside of a refrigerator is exactly the kind of detail that gets skipped during a quick weekly tidy but covered thoroughly during a deep cleaning service, which includes interior fridge cleaning as part of a top-to-bottom kitchen reset. This is especially useful before hosting, after a busy season, or simply when the kitchen needs more attention than a normal week allows.
If you’re moving, the same logic applies even more strongly. An empty fridge left uncleaned before a move can develop odors and mold within days, which is why fridge cleaning is also a standard part of a thorough move in/out cleaning service.
A real scenario worth knowing
Cleaning teams handling move-out jobs often open a refrigerator that’s been left running empty for a week or two and find a sour, almost chemical smell coming from the gaskets and the bottom of the crisper drawers. In nearly every case, the cause is the same: spilled liquid that dried into the gasket grooves months earlier and was never addressed. Because rubber seals absorb odor more than plastic shelves do, this is usually the slowest part of the entire process to fully clean a refrigerator that’s been neglected for a long stretch.
The takeaway is simple. A consistent monthly habit prevents the kind of buildup that turns a quick task into an hour of scrubbing.
Cleaning after a power outage
A prolonged outage changes the usual routine for keeping a refrigerator safe to use. If the power was out for more than four hours, the FSIS recommends checking each item individually rather than trusting appearance or smell alone, since some bacteria don’t produce obvious warning signs. Discard anything that sat above 40°F for four hours or longer, then clean the interior thoroughly before restocking, since spoiled food residue can leave behind bacteria even after the food itself is removed.
Afterward, run the fridge empty for an hour with the door closed to confirm it’s holding temperature correctly before placing groceries back inside.
FAQ
What’s the best natural solution to clean a refrigerator? Overall, a mix of equal parts white vinegar and warm water works well for most surfaces, cuts through light grime, and helps neutralize odors without leaving a chemical scent behind.
Can I use bleach inside my refrigerator? It’s best to avoid bleach directly on food-contact surfaces. Stick to mild dish soap, a vinegar solution, or a cleaner specifically labeled safe for food storage areas.
How do I get rid of a bad smell in my fridge? After a full clean, place an open box of baking soda on a shelf to absorb lingering odors. Check for forgotten leftovers or spoiled produce first, since that’s the most common cause.
Should I unplug my fridge to clean it? Unplugging isn’t necessary for a routine clean. It’s only recommended for deep maintenance tasks like cleaning condenser coils or moving the unit away from the wall.
How long does it take to properly clean a refrigerator? A full clean, including emptying, washing shelves, and wiping the interior, typically takes 30 to 45 minutes for a standard kitchen fridge.
What temperature should my refrigerator be set to? Keep it at 40°F or below to slow bacterial growth effectively. An appliance thermometer is the most reliable way to confirm the actual temperature, since dial settings aren’t always accurate.
A cleaner fridge is part of a cleaner kitchen
A spotless refrigerator only stays that way if the rest of the kitchen gets the same consistent attention. Countertops, cabinet fronts, and floors all contribute to the bacteria and crumbs that eventually find their way back into the fridge. Booking regular cleaning service keeps the whole kitchen on a predictable schedule, so the fridge stays the exception rather than the rule. Ultimately, learning how to clean a refrigerator well matters less than sticking to the routine consistently, since that consistency is what actually keeps your food safe week after week. Furthermore, a kitchen that’s cleaned on a regular cadence rarely lets odors or residue build up to the point of needing an intensive fridge overhaul. Ready for a kitchen reset? Get a fast quote from Asubra Cleaning Services today.