
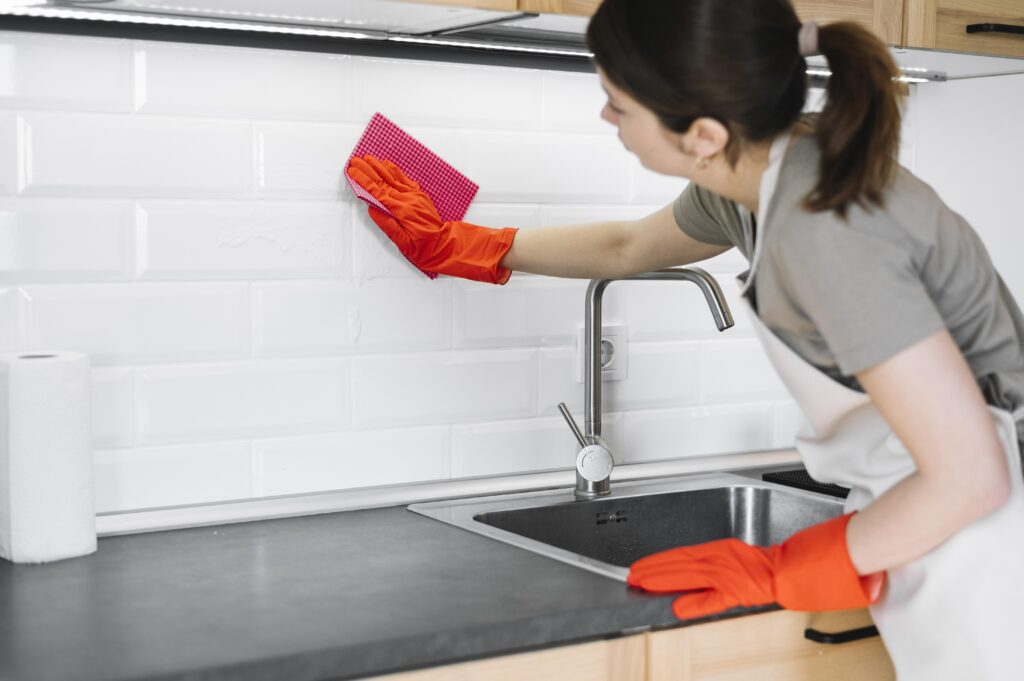
Your kitchen backsplash is your cooking space’s primary defense against messy culinary adventures. However, because it sits directly behind your stove and countertops, it constantly absorbs airborne cooking grease, rising steam, tomato sauce splatters, and floating dust. While wiping down your counters after dinner is second nature, vertical backsplash surfaces are frequently overlooked, leading to a dull, sticky film over time.
Restoring your backsplash doesn’t have to be an exhausting chore. With the right technique, safe cleaning agents, and a step-by-step approach, you can easily strip away stubborn grease and bring your tile and grout lines back to life.
Why Kitchen Backsplashes Get Sticky
Grease and steam settle on vertical surfaces near the stove.
Every time you fry foods or simmer sauces, microscopic oil droplets vaporize and rise into the air. As these hot micro-droplets hit cooler vertical surfaces like your kitchen backsplash, they condense and settle firmly into place.
Dust sticks to oily residue and makes tile look dull.
Once a fine film of cooking grease coats your tiles, everyday household dust clings to it like a magnet. This combination forms a stubborn layer of grime that mutes your tile’s natural gloss and makes vibrant backsplashes look dingy.
Why grout lines often look dirty before the tile does.
Grout is naturally porous and recessed below the surface of the tile, making it a natural trap for grease, dust, and dark moisture. Even if your smooth glass or ceramic tiles wipe clean easily, unsealed grout lines often turn dark and discolored first.
What to Check Before Cleaning
Tile type: ceramic, porcelain, glass, stone, or peel-and-stick.
Before grabbing any cleaner, identify your backsplash material. Ceramic, porcelain, and glass tolerate a wide variety of cleaning solutions, whereas natural stone and peel-and-stick adhesives require much gentler care.
Grout condition and sealant status.
Check whether your grout is sealed. Sealed grout resists stains and grease much longer, while unsealed or cracked grout absorbs liquids rapidly and may require specialized scrubbing or resealing.
Nearby materials such as wood cabinets, painted walls, and stone countertops.
Protect your surrounding surfaces. Overspray from heavy-duty degreasers can damage finished cabinet wood, strip painted drywall, or etch natural stone countertops.
Why acidic cleaners should be avoided on natural stone.
Harsh acids and vinegar will permanently etch, pit, and dull calcium-based natural stones like marble, travertine, and limestone. Always use pH-neutral cleaners on stone backsplashes.
Step-by-Step Backsplash Cleaning Method
Remove loose dust first.
Wipe down the backsplash with a dry microfiber cloth to remove any loose dust, cobwebs, or surface crumbs before introducing wet cleaners.
Apply a degreasing cleaner that is safe for the surface.
Spray a mild dish soap solution or a surface-safe commercial degreaser onto your cleaning cloth (rather than directly onto the wall) to target oily film.
Let the cleaner dwell briefly without drying out.
Allow the degreaser to sit for 1 to 2 minutes so it can break down molecular grease bonds without hardening or drying onto the tile.
Wipe tile in sections and rinse residue.
Wipe down your tiles in manageable sections using a damp cloth, rinsing frequently with clean water to remove all soap or chemical residue.
Use a soft brush for grout lines when needed.
For discolored grout, gently work a mild cleaning paste into the lines using a soft-bristled toothbrush, scrubbing gently to lift trapped grime.
Quick checklist for cleaning behind the stove.
- [ ] Clear countertop items away from the work zone to protect appliances and decor
- [ ] Vacuum or dry-wipe loose dust and grease particles from the wall
- [ ] Apply a surface-safe degreaser and let it dwell briefly
- [ ] Scrub tile surfaces and grout lines gently with a soft brush or cloth
- [ ] Rinse thoroughly with clean water and buff dry with a microfiber towel
- [ ] Check adjacent surfaces as part of your overall kitchen cabinet cleaning routine
Note: Tie heavy grease buildup to deep cleaning or recurring kitchen maintenance.
When cooking oils accumulate for months, tackling heavy buildup requires intensive labor. Pairing routine surface upkeep with a professional deep cleaning service keeps your entire culinary space spotless.
Mistakes to Avoid
Using abrasive scrubbers on glossy tile.
Scouring pads, steel wool, and abrasive powders will permanently scratch and ruin the high-gloss finish of ceramic or glass tiles.
Leaving cleaner residue behind.
Failing to rinse away soap or chemical cleaners leaves a sticky film that attracts fresh dust and grease even faster than before.
Using vinegar on stone surfaces.
Never use acidic vinegar solutions on natural stone backsplashes, as acid corrosion will permanently damage the stone’s polished surface.
When Professional Cleaning Helps
Keeping a kitchen immaculate from top to bottom demands time and precision. At Asubra Cleaning, our professional team expertly handles stubborn kitchen grease, sticky cabinet fronts, gleaming countertops, polished sinks, and kitchen tile floor cleaning to ensure every inch of your kitchen shines. Whether you are dealing with an unexpected oil spill cleanup or need a comprehensive space reset, we make maintaining a pristine home effortless. Contact us!
FAQ
What is the best cleaner for kitchen backsplash tile?
For most ceramic, porcelain, and glass tiles, a mixture of warm water and mild dish soap or a diluted grease-cutting spray works wonderfully. For natural stone, use a specialized pH-neutral stone cleaner.
How do you remove grease from backsplash grout?
Apply a safe cleaning paste made from baking soda and water to the grout lines, let it sit for a few minutes, gently scrub with a soft toothbrush, and wipe clean with a damp cloth.
How often should a kitchen backsplash be cleaned?
You should give your backsplash a quick wipe down after heavy cooking or at least once a week, with a more thorough degreasing and grout check performed monthly.